
Start here
Junk journaling for beginners: make your first page
A junk journal is a place to gather paper, everyday memories and words in a way that feels personal. You do not need a coordinated kit or a shelf of tools to begin. Start with one page you can finish, rather than planning a whole book at once.
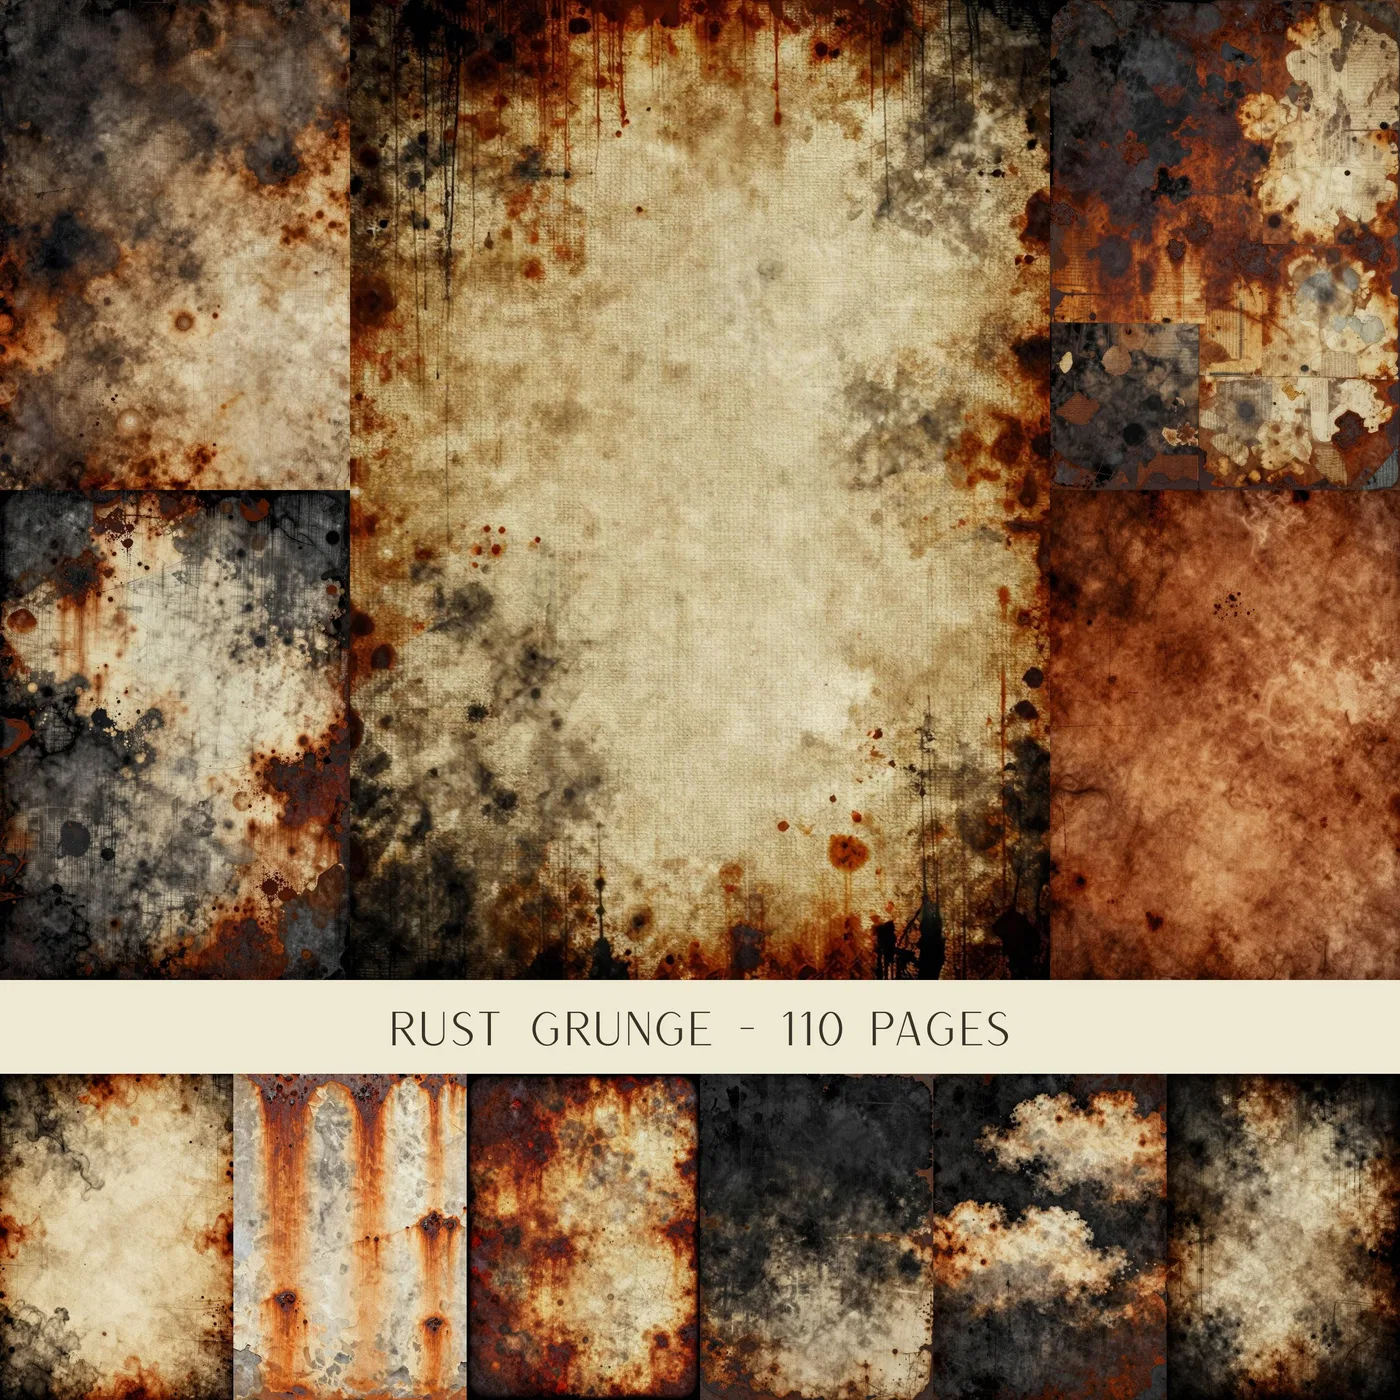
Gather a small, useful paper pile
Choose a notebook or a few loose sheets, scissors, a pen and an adhesive suitable for paper. Add two or three scraps: an envelope, a clean piece of packaging or a copy of a note. A printable background is optional, but it can give unrelated scraps a shared color or mood.
Avoid putting irreplaceable letters or photographs straight into a glued collage. Work with copies if you want to keep the originals intact. Ordinary craft supplies are not automatically archival, so keep important originals separately.
- One page or spread to work on
- A background paper and two smaller scraps
- A focal detail such as a label, picture or handwritten note
- Scissors, a pen and paper-safe adhesive
Pick a simple color palette
Lay your papers together before cutting. Choose a main color, a quiet neutral and one small accent. A weathered cream background, a brown envelope and a muted green detail are an easy starting point. You can mix patterns, but let one paper stay quieter so the page has somewhere for your eye to rest.
Try tearing one edge and cutting another. The contrast creates variety without needing more supplies. Keep the main writing area light enough that your words remain readable.
Build a background, focal point and writing space
Place the largest paper first, leaving a little of the notebook visible around it. Put a smaller scrap slightly off-center and overlap it with your focal detail. Move the pieces until you like the arrangement, then take a quick photo so you can rebuild it while gluing.
Use a thin, even layer of adhesive and follow its drying instructions. Too much wet glue can wrinkle lighter paper. Keep thick layers away from the spine so the book can still close comfortably. Add a date and a few lines about an ordinary moment: what you noticed on a walk, a conversation or something you want to remember.
Add one pocket, then stop
For a simple pocket, trim a small rectangle and attach only the left, right and bottom edges. Leave the top open. Once the adhesive has dried, tuck in a small card with a note on it. Check that the card slides out before adding more decoration.
A finished page does not need to be full. Leave some blank space and see how the journal feels in your hands. Your next page can repeat one color or shape while telling a different story.
Papers to explore
These are digital product previews. Open a design for its details, then visit Etsy for purchase and download information.

Prepared for Junk Journal Diary. Project suggestions are starting points, not tested product specifications. Follow your printer and adhesive instructions.
← Back to journal & guides